Quick & Cheesy Broccoli Cheddar Pizza Slices

Download the free printable PDF
There is something undeniably satisfying about a pizza slice that balances the sharp tang of cheddar with the earthy crunch of fresh broccoli. This recipe moves beyond the standard pepperoni topping to offer a robust, flavour-packed option that feels like a proper meal yet comes together in record time. Whether you are feeding a hungry family or preparing lunchboxes for the week ahead, this method ensures every slice is crisp on the outside and tender within.
The Foundation: Cheesy Base Crust
The secret to an exceptional pizza begins long before you add the toppings; it starts with the dough itself. By incorporating grated cheddar directly into the pizza dough mixture, you create a crust that is inherently rich and savoury. This technique infuses every bite of the base with a subtle cheesy flavour, meaning you do not need to overload the top with cheese to achieve that desired taste profile. The dough remains pliable and easy to work with, while the added fat from the cheese helps to tenderise the gluten structure, resulting in a slightly softer interior that contrasts beautifully with a crisp exterior.
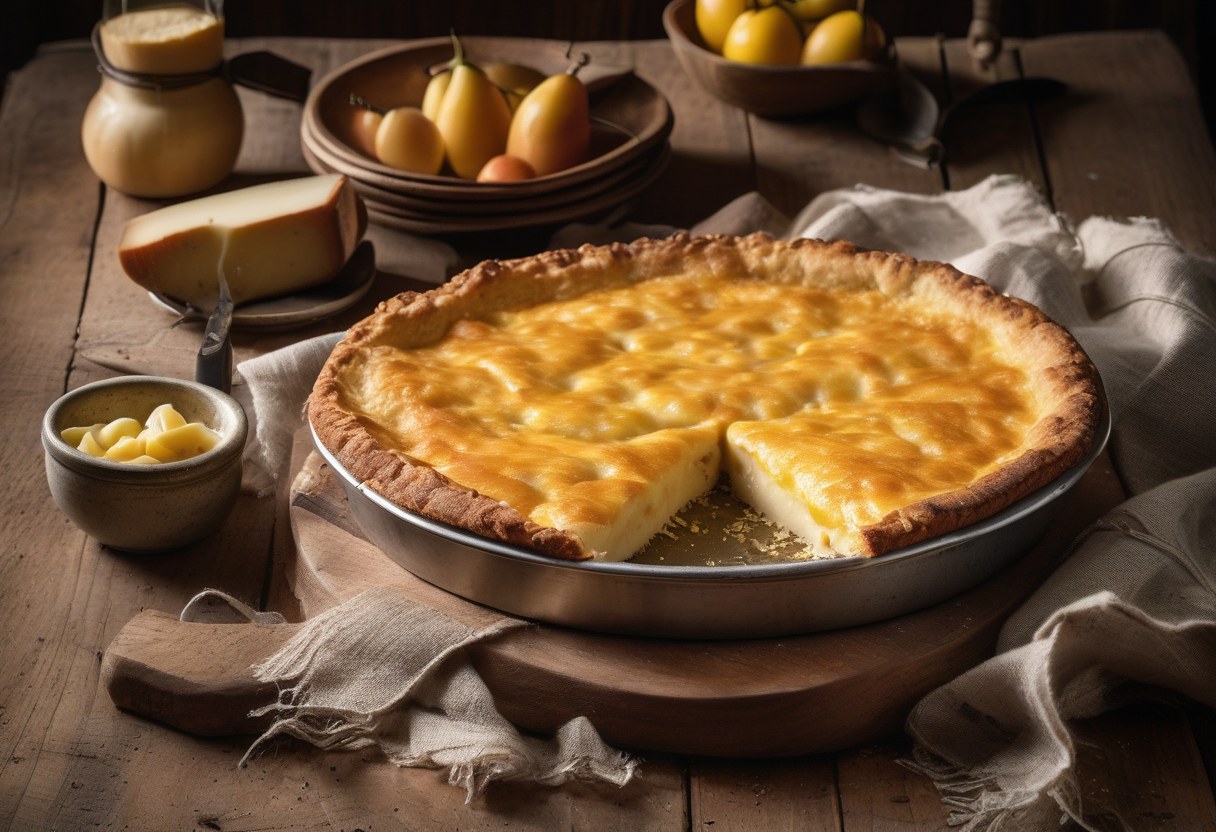
To prepare this unique base, start by combining your flour, yeast, salt, and a pinch of sugar in a large mixing bowl. Warm up your milk or water to roughly body temperature to activate the yeast without killing it off. Once the liquid is ready, mix in a generous handful of finely grated cheddar cheese along with a splash of olive oil. The oil helps to keep the dough supple, while the cheese melts slightly into the matrix as you knead. Knead the mixture for about five to seven minutes until it forms a smooth, elastic ball that springs back when poked. Let the dough rise in a warm, draft-free spot for approximately thirty minutes, or until it has doubled in size. This short rising time is perfect for a quick weeknight meal, ensuring you are not waiting around for hours.
Once the dough has risen, punch it down gently to release any large air bubbles. On a lightly floured surface, roll the dough out into your desired shape and size. For individual slices or personal pizzas, rolling them thinner allows for a crispier finish, while a thicker base provides a more bread-like texture. Transfer the rolled dough onto your baking sheet or pizza stone, making sure to prick the surface with a fork if you prefer a less puffy crust. This step prevents excessive bubbling in the centre, ensuring an even cook across the entire slice.
Preparing the Broccoli: Speed and Texture
Broccoli can easily become mushy if overcooked, which ruins the textural contrast needed for a great pizza. The goal here is to achieve a vibrant green colour and a firm, crisp bite that holds up against the heat of the oven. Steaming is the most effective method for this, as it cooks the vegetable quickly without submerging it in water, which can leach out flavour and make the florets soggy. By mastering this quick prep step, you ensure that the broccoli remains a distinct, crunchy element rather than a soft afterthought on the slice.
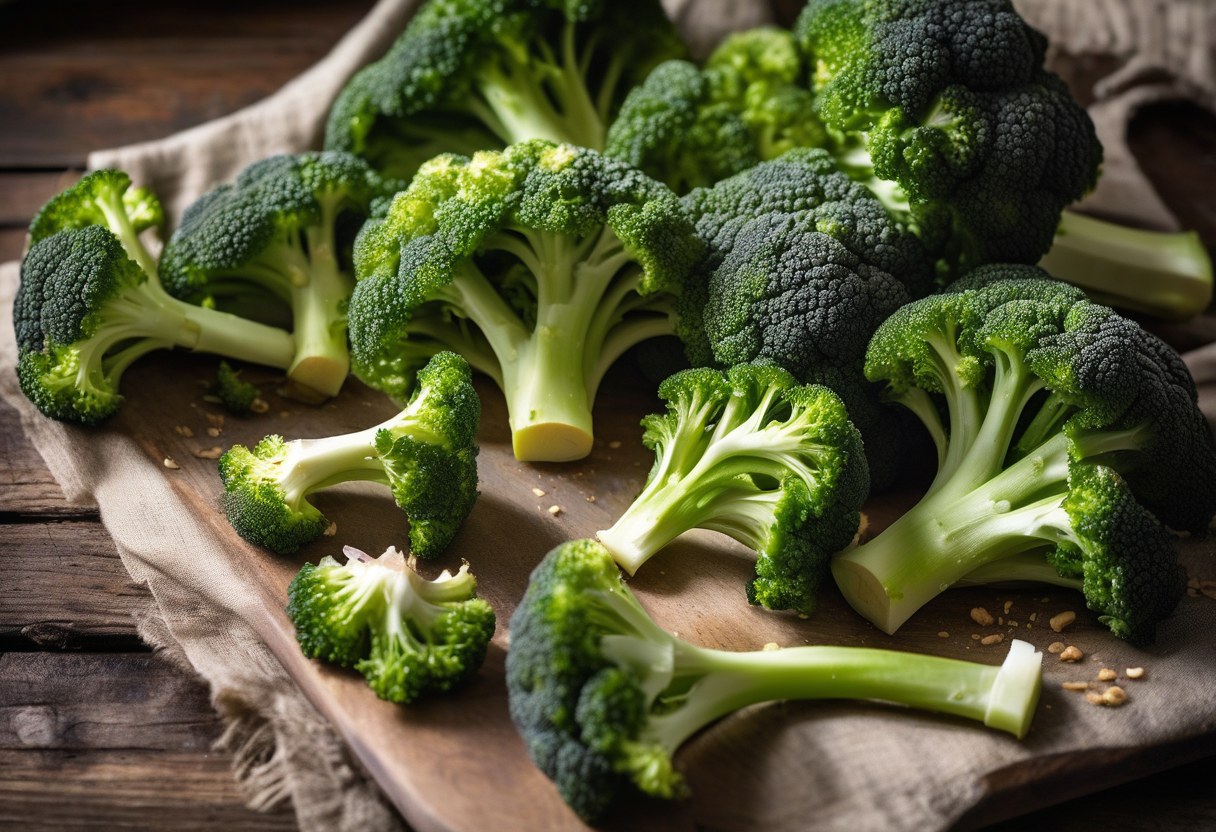
To steam your broccoli efficiently, chop the florets into small, bite-sized pieces. This uniform size ensures even cooking and makes them easier to distribute across the pizza surface. Place the chopped broccoli in a steamer basket set over a pot of simmering water. Cover the pot tightly to trap the steam, and cook for just three to four minutes. You want the broccoli to be tender-crisp; it should still offer some resistance when pierced with a fork but not be hard or raw. Drain the broccoli immediately after steaming and spread it out on a clean kitchen towel to pat dry any excess moisture. Removing this water is crucial, as wet toppings are the primary cause of soggy pizza crusts.
While drying, you can lightly toss the broccoli florets with a tiny drizzle of olive oil and a pinch of black pepper. This adds an extra layer of flavour and helps to prevent sticking during the baking process. Some cooks prefer to roast the broccoli beforehand for a caramelised edge, but for this quick guide, steaming preserves the fresh, bright character of the vegetable. The key is timing; prepare the broccoli while your dough is rising or immediately before assembly so it stays at its peak texture until it hits the oven.
The Assembly Line: Layering for Balance
How you layer your ingredients determines the structural integrity and flavour distribution of the final product. A common mistake is piling on too much sauce, which can make the crust soggy before it even enters the oven. Start with a thin, even layer of tomato sauce or a white garlic base if you prefer a milder profile. Spread the sauce to within half an inch of the edge to allow for a proper crust border. This rim not only looks traditional but also provides a satisfying chewy texture that frames the toppings.
Next, distribute your shredded cheddar cheese evenly over the sauce. Since the crust already contains cheese, you do not need an excessive amount on top, but enough to create a golden, bubbly blanket is essential. Sprinkle the prepared broccoli florets over the cheese, ensuring they are spread out rather than clustered in one spot. This guarantees that every bite contains a balance of dairy and vegetable. If you like additional herbs, a light sprinkle of dried oregano or fresh basil leaves can add a fragrant note that complements the sharp cheddar.
For an extra touch of indulgence, consider adding a few slices of cooked bacon or crumbled pancetta before baking. The smoky saltiness pairs wonderfully with the sweet broccoli and sharp cheese. However, keep the toppings moderate to avoid weighing down the dough. Overloading the pizza can lead to uneven cooking, where the centre remains undercooked while the edges burn. Aim for a harmonious ratio where no single ingredient dominates the other, creating a cohesive and delicious slice.
Baking Blitz: Achieving the Perfect Crisp
The oven temperature is critical for achieving that desirable contrast between a crispy bottom and a soft, cheesy interior. Preheat your oven to its highest setting, typically around 220°C to 230°C (425°F to 450°F). A hot oven ensures that the dough cooks quickly, sealing in moisture and creating a crisp exterior before the toppings dry out. If you have a pizza stone or steel, place it in the oven during preheating. The stone retains heat and transfers it rapidly to the bottom of the crust, mimicking the effect of a professional brick oven.
Slide your assembled pizza slices onto the hot surface using a peel or by carefully transferring them from parchment paper. Bake for approximately twelve to fifteen minutes, watching closely towards the end. The signs of a perfectly baked pizza include a golden-brown crust edge, bubbling cheese with slight browning spots, and vibrant green broccoli that has wilted slightly but retained its colour. Avoid opening the oven door too frequently, as this causes temperature fluctuations that can lead to uneven baking.
Once removed from the oven, let the pizza rest for two to three minutes before slicing. This brief resting period allows the cheese to set slightly, preventing it from sliding off the slice when you pick it up. It also allows the residual heat to finish cooking the centre gently. Cut into generous slices using a sharp pizza cutter or a large chef’s knife. Serve immediately while hot for the best texture and flavour experience.
Batch Cooking for the Week Ahead
This recipe is exceptionally well-suited for batch cooking, making it an ideal candidate for Sunday meal prep. You can easily double or triple the dough recipe and assemble multiple pizzas at once. Prepare all the toppings in advance by steaming a large batch of broccoli and portioning out the cheese and sauce. Assemble the pizzas on separate baking sheets lined with parchment paper for easy handling. This method saves significant time during busy weekdays, as you simply need to pop a pre-assembled slice into the oven.
If you are making ahead for storage, consider par-baking the crusts before adding toppings. Bake the plain dough for about five minutes until it is just set but not browned. Let it cool completely before adding sauce and toppings. This step prevents the crust from becoming soggy during storage. Once topped, wrap each slice tightly in plastic wrap or place them in airtight containers. This approach extends the freshness of the pizza and maintains the structural integrity of the dough.
Batch cooking also allows for variety. You can make several pizzas with different topping combinations using the same cheesy crust base. One might be broccoli and cheddar, while another could feature mushrooms and mozzarella. This flexibility ensures that your meal prep remains interesting and prevents flavour fatigue throughout the week. Label each container with the date to keep track of freshness.
Storage and Reheating Strategies
Proper storage is key to maintaining the quality of your pizza slices. Place cooled slices in an airtight container in the refrigerator. They will remain fresh for up to three days. Avoid stacking slices directly on top of each other without separation, as this can cause the cheese to stick and tear the crust. Use parchment paper between layers if you must stack them. For longer storage, you can freeze the uncooked or par-baked slices in freezer-safe bags for up to two months.
Reheating pizza is often where texture suffers, but using the right method can restore that fresh-out-of-the-oven crispiness. The microwave is convenient but tends to make the crust rubbery and soggy. Instead, use a toaster oven or a regular oven preheated to 180°C (350°F). Place the slice on a rack or directly on the oven floor for ten minutes. This method reheats the toppings while crisping the bottom. Alternatively, a non-stick skillet on the stovetop can work wonders; heat the pan over medium-low heat and add the slice, covering with a lid for two minutes to melt the cheese.
If you have frozen your slices, thaw them in the refrigerator overnight before reheating. Do not attempt to reheat from frozen in the microwave, as this will result in a cold centre and an overheated crust. The slow, even heat of the oven or skillet ensures that the internal temperature rises uniformly, preserving the flavour and texture you worked hard to create during the initial preparation.
FAQ
How long can I store these pizza slices in the fridge before they lose flavor?
You can safely store these pizza slices in the refrigerator for up to three days. After this period, the crust may begin to stale and the toppings can lose their vibrancy. For the best taste and texture, aim to consume them within forty-eight hours of baking. Ensure they are stored in airtight containers to prevent them from absorbing other odors in the fridge.
What’s the best way to reheat these slices so they stay crispy and not soggy?
The best method is to use an oven or toaster oven preheated to 180°C (350°F). Place the slice on a baking sheet or rack for about ten minutes. This allows the heat to penetrate evenly, crisping the bottom while warming the toppings. Avoid using a microwave if you want to maintain a crisp crust, as it tends to steam the dough, making it soft and chewy.
Can I use different types of containers for storing my leftover pizza slices?
Yes, you can use various containers as long as they are airtight. Plastic food storage containers with tight-fitting lids are ideal. Alternatively, you can wrap individual slices tightly in aluminum foil or plastic wrap before placing them in a resealable freezer bag. The key is to minimise air exposure, which helps to prevent the crust from drying out and keeps the toppings fresh.
Are there good substitutes if I don’t have broccoli or cheddar cheese on hand?
Absolutely. You can substitute broccoli with other quick-cooking vegetables like spinach, zucchini, or bell peppers. For the cheese, any melting variety works well. Mozzarella offers a milder flavour and excellent stretch, while Gouda provides a creamy, slightly sweet profile. Feel free to experiment with combinations that suit your taste preferences.


