Quick & Creamy Cheese Sauce Broccoli Shells

Download the free printable PDF
There is something undeniably comforting about a warm, cheesy pasta dish that comes together in a flash. This guide focuses on the classic combination of broccoli and pasta shells, smothered in a rich, creamy cheese sauce. Whether you are looking for a speedy weeknight dinner or a hearty meal to batch-cook, these variations offer practical solutions for busy kitchens without sacrificing flavor or texture.
Classic Cheese Sauce Broccoli Shells
The foundation of this dish is simplicity. It relies on the natural sweetness of steamed broccoli florets and the sturdy structure of jumbo pasta shells to hold the sauce. This version is designed to be on the table in under thirty minutes, making it an ideal candidate for evenings when time is short but the desire for a proper meal remains high. The key is to manage your timing so that the pasta and vegetables are ready at the same moment as the sauce.
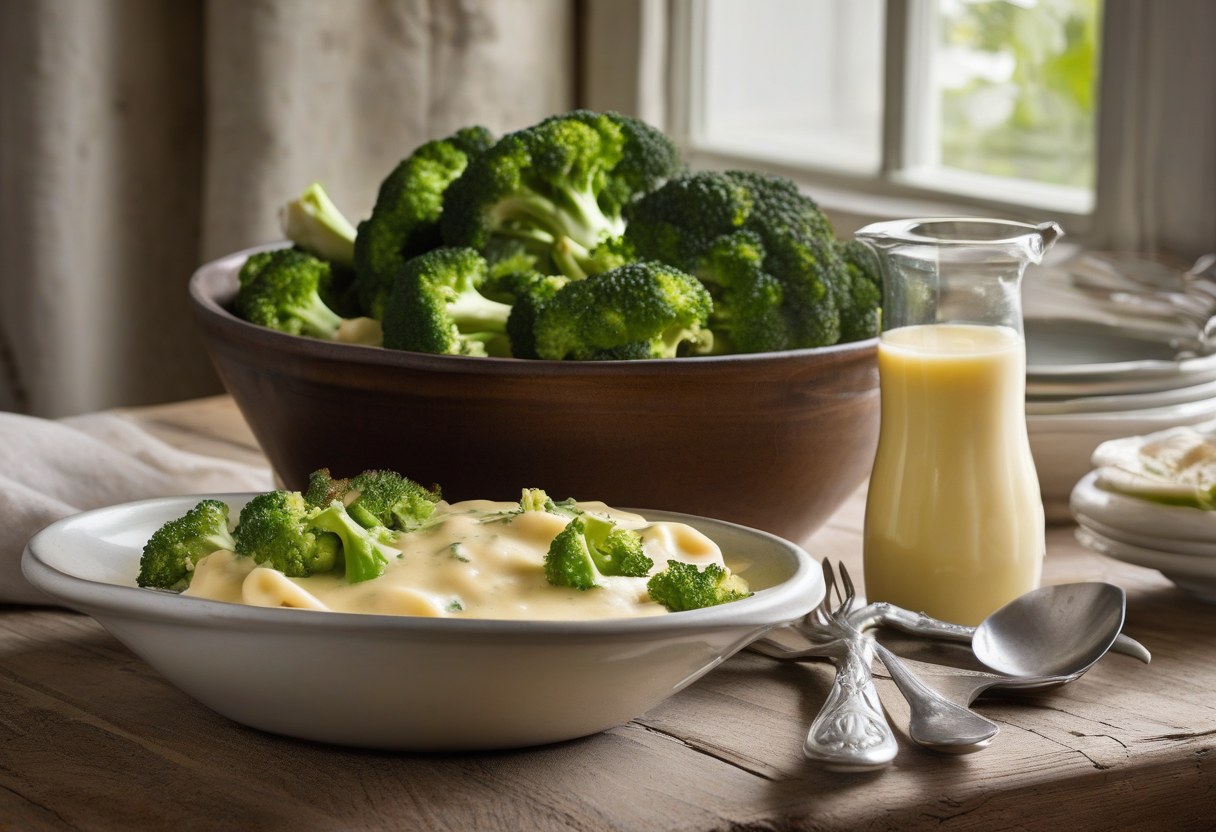
To begin, bring a large pot of salted water to a boil and cook the pasta shells according to the package directions, aiming for an al dente texture. They need to hold their shape when mixed with the hot sauce. While the water heats, steam a head of broccoli until it is tender but still bright green. Overcooking the broccoli leads to a mushy consistency that can make the final dish watery. Drain both the pasta and the broccoli well, as excess water is the enemy of a creamy sauce.
For the sauce, melt a knob of butter in a large skillet over medium heat. Add a small amount of flour and whisk constantly for a minute to create a roux. Gradually pour in milk while continuing to whisk to prevent lumps. Once the mixture thickens slightly, add shredded cheddar or a mix of cheddar and mozzarella. Stir until the cheese is fully melted and the sauce is smooth. Toss the drained pasta and broccoli in the sauce, ensuring every shell is coated. This dish is best served immediately while the cheese is still molten.
Cheesy Veggie-Packed Shells
If you have extra vegetables in the fridge, this variation allows you to incorporate them without adding significant time to the cooking process. Finely chopped spinach and diced bell peppers are excellent additions that blend seamlessly into the cheese sauce. The peppers add a subtle sweetness and a pop of color, while the spinach wilts quickly and disappears into the creamy base. This method is cost-effective, as it uses ingredients you likely already have on hand, reducing waste and stretching your grocery budget.
Start by sautéing the diced bell peppers in the skillet with the butter for two to three minutes. You want them to soften slightly but retain some crunch. Add the chopped spinach and stir until it just begins to wilt. At this stage, you can add the flour to create the roux, ensuring the vegetables are coated in the fat before the liquid is added. This step helps prevent the vegetables from floating on top of the sauce later on. The cooking time remains virtually the same as the classic version, as these vegetables cook quickly alongside the pasta.
Proceed with the milk and cheese addition as described in the classic method. The addition of extra vegetables changes the volume of the dish, so you may need to slightly increase the amount of milk or cheese to ensure the pasta is adequately coated. This version is particularly good for using up half a head of broccoli or a few stray peppers that might otherwise go to waste. It offers a more complex flavor profile while maintaining the quick turnaround time that makes this dish so popular.
Homestyle Baked Broccoli Shell Bake
For occasions when you want a heartier meal that can be prepared in advance, the baked version is superior. This method involves assembling the dish in a baking dish and finishing it in the oven, which creates a golden, slightly crisp top layer. It is perfect for entertaining guests or for family dinners where you want to minimize last-minute effort. The baking process also allows the flavors to meld together more deeply than the stovetop version.
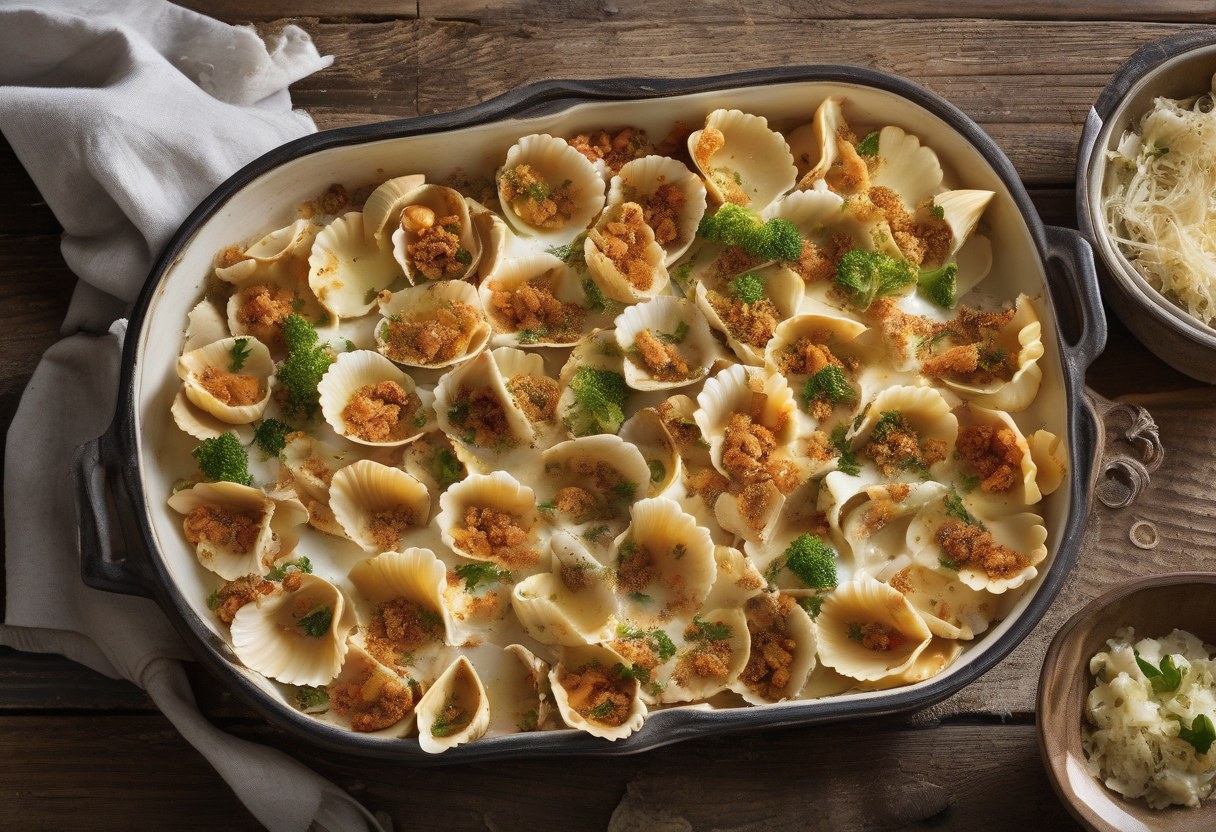
Prepare the pasta and broccoli as before, but do not mix them with the sauce yet. Instead, spread the cooked pasta and broccoli in a single layer in a greased baking dish. Pour the prepared cheese sauce over the top, ensuring it covers the pasta evenly. Sprinkle a layer of breadcrumbs mixed with a little melted butter over the sauce. This topping provides a textural contrast that is highly satisfying. Bake at 180°C for about 15 to 20 minutes, or until the top is golden and the edges are bubbling.
This dish holds up well if you need to prepare it ahead of time. You can assemble the entire dish, cover it with foil, and refrigerate it for up to 24 hours. When ready to serve, simply bake it covered for 30 minutes, then remove the foil for the last 10 minutes to brown the top. The reheating process is straightforward and results in a dish that tastes as good as if it were freshly made. It is a reliable option for Sunday dinners or when hosting a small gathering.
Cheesy Shells & Chicken Skillet Dinner
Adding protein to the mix transforms this side dish into a complete main course. Diced chicken breast or thigh meat can be cooked in the same skillet used for the sauce, keeping the cleanup minimal. This one-pan approach is efficient and ensures that the chicken is seasoned and cooked through before being incorporated into the creamy mixture. It is a favorite for busy parents who need a meal that satisfies everyone at the table without requiring multiple pots and pans.
Start by browning the diced chicken in the skillet over medium-high heat. Season with salt, pepper, and a pinch of garlic powder. Once the chicken is cooked through, remove it from the skillet and set it aside. In the same pan, add the butter and proceed with making the cheese sauce. The browned bits left in the pan from the chicken add extra depth of flavor to the sauce. This technique, known as deglazing, is crucial for a rich taste.
Once the cheese sauce is ready, return the chicken to the skillet along with the cooked pasta and broccoli. Stir everything together gently to combine. The heat from the sauce will keep the chicken warm and moist. This dish is ready in under twenty minutes if you have pre-cooked the chicken, or slightly longer if starting from scratch. It is a practical solution for meal planning, as the components are simple and the process is straightforward. The result is a comforting, protein-rich meal that requires very little active cooking time.
Broccoli Shell Pasta Salad
Not every meal needs to be hot. This cold variation is ideal for picnics, potlucks, or quick lunches during the warmer months. The cheese sauce, when cooled, sets into a thicker consistency that coats the pasta and vegetables nicely. It is a great way to use up leftovers from a previous dinner, extending the life of the meal without any additional cooking. The texture is refreshing, with the coolness of the vegetables contrasting with the richness of the cheese.
Prepare the pasta and broccoli as usual, but rinse them under cold water after draining to stop the cooking process immediately. This ensures the pasta stays firm and the broccoli remains crisp. Let them cool completely before mixing. Prepare the cheese sauce but allow it to cool to room temperature. If the sauce is too thick when cold, you can loosen it with a splash of milk or a drizzle of olive oil. Toss the cold pasta, broccoli, and sauce together in a large bowl.
Add fresh vegetables like cherry tomatoes, red onion, or cucumber for extra crunch and color. These additions do not require cooking and add a fresh element to the dish. Season with salt, pepper, and a squeeze of lemon juice to brighten the flavors. This salad can be made a day in advance, as the flavors tend to meld and improve over time. It is a convenient option for outdoor events where heating food is not an option. The dish stores well in the refrigerator and can be reheated or served cold depending on preference.
Freezer-Friendly Broccoli Shells
Batch cooking is a smart strategy for busy households. This dish freezes surprisingly well, provided you follow a few specific steps to maintain texture. The key is to cook the pasta slightly underdone, as it will continue to cook when reheated. This prevents the pasta from becoming mushy after being frozen and thawed. By preparing large portions, you can save time on future evenings by simply reheating a meal that is already made.
Cook the pasta shells until they are just al dente, leaving a slight resistance in the center. Drain and rinse with cold water. Steam the broccoli until tender but not overcooked. Prepare the cheese sauce as usual. Assemble the dish in a large baking dish, but do not bake it. Instead, let it cool completely to room temperature. Cover the dish tightly with plastic wrap, pressing it directly onto the surface of the food to prevent air pockets. Then cover with aluminum foil.
Label the dish with the date and contents, and place it in the freezer. It can be stored for up to three months. When ready to eat, thaw the dish in the refrigerator overnight. To reheat, place it in the oven at 180°C. If the sauce looks dry, add a splash of milk or cream before baking. Bake until the center is hot and the sauce is bubbling. This method ensures that you always have a ready-made meal on hand, reducing the stress of daily cooking. The flavor and texture remain acceptable, making it a viable option for quick dinners.
FAQ
How long can I store this dish in the fridge?
Leftovers can be stored in an airtight container in the refrigerator for up to three to four days. The sauce tends to thicken as it cools, so you may need to add a small amount of milk when reheating to restore the creamy consistency. Ensure the dish is cooled to room temperature before sealing the container to prevent condensation.
What's the best way to reheat Cheesy Broccoli Shells?
The microwave is the quickest method for individual portions. Place the portion in a microwave-safe bowl, cover it with a damp paper towel to retain moisture, and heat in 30-second intervals, stirring in between. For larger portions, the oven is preferred. Reheat at 180°C until the center is hot, which usually takes about 10 to 15 minutes. Adding a splash of liquid helps prevent the sauce from drying out.
Can I use different types of pasta shells? If so, how should I adjust cooking times?
You can use standard jumbo shells, which are the most common for this dish. If using smaller shells, the cooking time will be shorter, usually by a few minutes. Check the package instructions for the specific shape you are using. The key is to cook the pasta al dente, as it will continue to cook slightly when mixed with the hot sauce. Larger shells hold more sauce and are generally preferred for this recipe.
Are there any good cheese substitutes for making the sauce vegan-friendly?
Yes, you can use a plant-based cheese alternative that melts well. Look for brands that specify "shreds" or "melting cheese" on the label, as these are formulated to mimic the texture of dairy cheese. Soy-based or cashew-based cheese sauces can also be used. You may need to adjust the liquid content, as some vegan cheeses do not release as much moisture as dairy cheese. A splash of plant-based cream or milk can help achieve the desired consistency.


