Slow Cooker Butternut Squash Lentil Curry

Download the free printable PDF
There is something undeniably satisfying about the aroma of simmering spices filling your kitchen, a scent that signals a delicious, flavourful meal is ready with minimal effort. This slow cooker butternut squash lentil curry is the ultimate solution for busy evenings, offering rich, complex tastes that develop over time while you attend to other tasks. It is a dish that relies on the gentle, consistent heat of a slow cooker to meld ingredients into a cohesive, delicious sauce, requiring very little active cooking time from you.
Why Choose a Slow Cooker
The primary advantage of using a slow cooker for this curry is the sheer convenience it offers to busy households. Unlike stovetop curries that require constant attention and stirring to prevent sticking, a slow cooker allows you to set the ingredients and walk away. This hands-off approach means you can start the cooking process in the morning before heading to work, or after dropping the children at school, and return to a finished meal that is ready to serve immediately. The minimal cleanup is another significant benefit, as the entire meal is prepared in one vessel, reducing the number of pots and pans that need washing later in the evening.
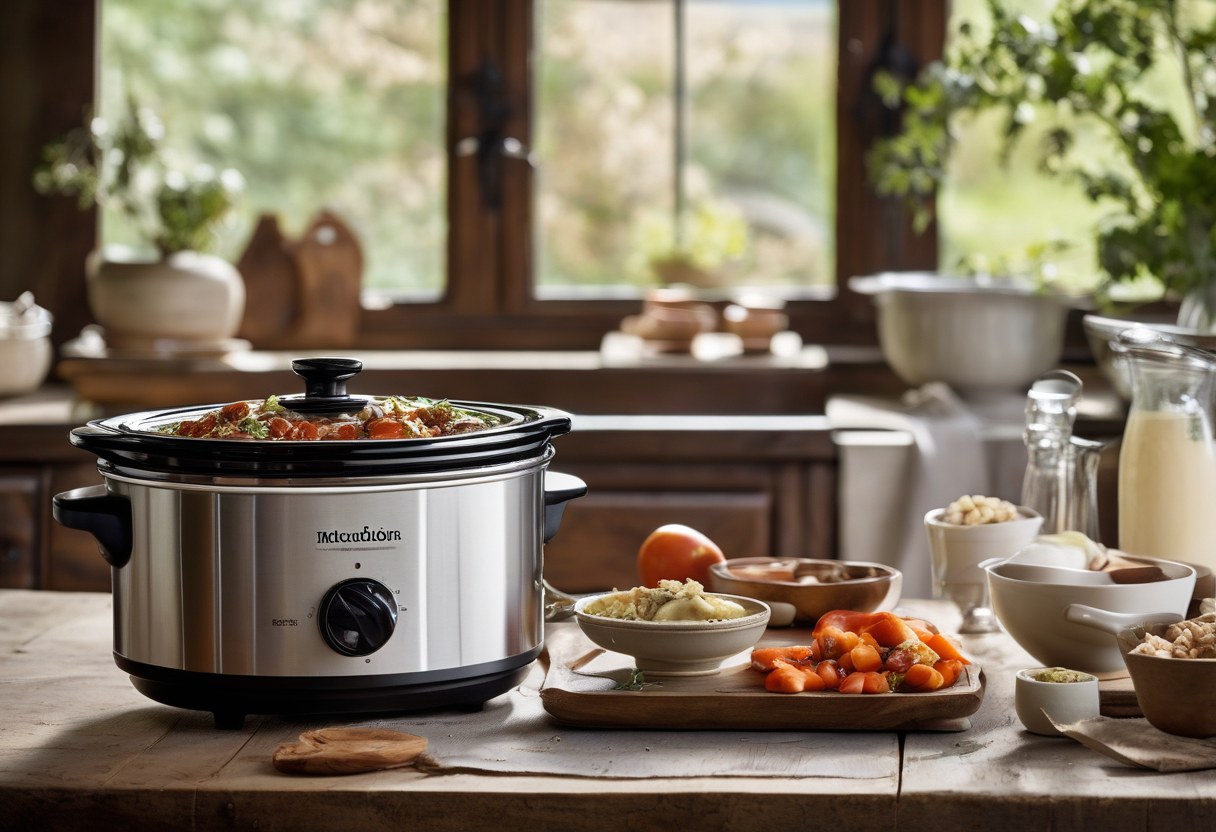
Beyond convenience, the slow cooking method enhances the flavor profile of the dish in unique ways. The low and steady heat allows the lentils to become incredibly tender without breaking down into a mush, while the butternut squash softens perfectly, retaining its shape enough to provide texture. This method also allows the spices to infuse deeply into the liquid, creating a layered taste that is far superior to quick-cooked alternatives. For families looking to simplify their weekly meal planning, this appliance is an invaluable tool that simplifies the evening routine and increases the likelihood of sitting down to a hot, home-cooked dinner without the hassle of active cooking.
Preparing the Butternut Squash
Butternut squash can seem intimidating to the uninitiated, but with a sharp knife and a sturdy cutting board, the preparation is straightforward and quick. Start by trimming off the stem end and the blossom end to create two flat surfaces. Stand the squash on its wider end and carefully slice it in half lengthwise. Once halved, scoop out the seeds and stringy pulp with a spoon, discarding them or saving them for roasting later. This step is crucial for ensuring the squash cooks evenly and does not retain a tough, fibrous texture in the final dish, which could detract from the smoothness of the curry.
To peel the squash, use a good quality vegetable peeler or a sharp chef’s knife to remove the skin. The skin is tough and not suitable for eating, so it must be removed entirely. Once peeled, cut the squash into uniform cubes, approximately two centimeters in size. Uniformity is key here because it ensures that all pieces cook at the same rate, preventing some cubes from becoming mushy while others remain firm. If you find the squash too hard to cut, you can microwave it for two minutes to soften the flesh slightly, making the slicing process much easier and safer. This prep work takes less than ten minutes and sets the stage for a smooth cooking process, allowing you to focus on other tasks while the curry simmers.
Assembling the Curry
Once your squash is prepared, the assembly of the curry is a matter of layering and combining. Begin by rinsing the lentils under cold water to remove any dust or debris, a step that also helps reduce cooking time. Place the lentils at the bottom of the slow cooker, followed by the cubed butternut squash. Adding the lentils first ensures they are submerged in liquid, which is essential for even cooking. If you are using dried lentils, they will expand significantly, so leave some space at the top of the pot to prevent overflow during the simmering process, keeping your kitchen clean and tidy.

Next, add your aromatics and spices. A combination of onion, garlic, and ginger forms the base of the flavor, but the magic happens with the spices. Use a mix of ground cumin, coriander, turmeric, and garam masala, along with a pinch of chili powder for heat. Pour in vegetable or chicken stock, along with a tin of chopped tomatoes and a splash of coconut milk for richness. Stir everything gently to combine, ensuring the spices are distributed evenly. Cover the slow cooker and set it to low for six to eight hours or high for three to four hours. The liquid should just cover the ingredients; if it looks too dry, add a little more stock. As it cooks, the flavors will deepen, and the sauce will thicken naturally as the lentils release their starches, creating a luxurious consistency without the need for constant stirring.
Storage Solutions for Leftovers
One of the best aspects of this curry is how well it stores, making it an ideal candidate for batch cooking. Once the curry has finished cooking, allow it to cool slightly before transferring it to storage containers. It is best to cool the curry to room temperature within two hours to ensure food safety. You can store the curry in the refrigerator for up to four days, where it will actually taste better the next day as the flavors continue to meld. The sauce thickens as it coats the ingredients, creating a rich, cohesive texture that holds together well when served over rice or with naan bread, making it a perfect make-ahead meal for busy weeks.
For longer-term storage, freezing is an excellent option. This curry freezes exceptionally well for up to one month. When freezing, it is best to divide the curry into individual portions or smaller batches, depending on your household size. This allows you to thaw only what you need, reducing waste and saving money on groceries. Label each container with the date and contents, so you can easily track how long they have been stored. Freezing the curry also locks in the flavors, ensuring that when you eventually reheat it, the taste remains vibrant and consistent with the fresh version, providing a reliable backup meal for any unexpected evening.
Reheating Techniques
Reheating lentil curry requires a gentle approach to maintain its texture and flavor. If you are reheating from the refrigerator, the microwave is the quickest method. Place the curry in a microwave-safe bowl and heat on medium power in one-minute intervals, stirring between each interval. Stirring is essential to ensure even heating, as microwaves can create hot spots that cook parts of the curry while leaving others cold. If the curry appears too thick after reheating, add a splash of water or stock and stir to loosen the sauce. This method takes only a few minutes and results in a steaming hot meal ready to serve, perfect for when you have no time to cook from scratch.
For those who prefer the oven, reheating on the stovetop or in a baking dish is also an option. Place the curry in a saucepan over medium-low heat, stirring occasionally until it is warmed through. This method allows you to adjust the consistency more easily by adding liquid as needed. If using the oven, preheat it to 180 degrees Celsius and place the curry in a covered baking dish. Heat for about 20 to 30 minutes, checking after 15 minutes to ensure it is not drying out. The stovetop method is often preferred by those who want to monitor the texture closely, ensuring the lentils do not become overly soft or the sauce does not separate, preserving the integrity of the dish.
Choosing the Right Containers
When planning to freeze large batches of curry, the choice of container is critical for maintaining quality and safety. It is advisable to use BPA-free plastic containers or glass jars designed for freezing. BPA-free plastics are lightweight and durable, making them easy to stack in the freezer, while glass containers offer a non-reactive surface that does not absorb flavors or odors. Ensure that any plastic containers are specifically labeled as freezer-safe, as standard plastic may crack or become brittle at low temperatures. Glass containers should also be heat-shock resistant if you plan to reheat them directly in the oven or microwave, ensuring they withstand the temperature changes without breaking.
For portion control, consider using airtight containers that are the size of a single serving or a family meal. This prevents the need to thaw a large quantity of curry, which can lead to waste if not consumed in time. Silicone bags are another excellent option, as they can be laid flat in the freezer, saving space and allowing for faster thawing. Regardless of the container chosen, ensure it is sealed tightly to prevent freezer burn, which can affect the taste and texture of the curry. Investing in a set of good quality, reusable containers is a practical step that simplifies the meal prep process and reduces single-use plastic waste, keeping your kitchen organized and efficient.
Ingredient Substitutions
Flexibility is a key feature of this recipe, allowing you to adapt it based on what is available in your kitchen or seasonally. If butternut squash is out of season or unavailable, sweet potatoes are a direct substitute that offers a similar sweetness and texture. Simply peel and cube the sweet potatoes in the same manner as the squash, and they will cook perfectly in the slow cooker. Other root vegetables like parsnips or carrots can also be added for extra bulk and flavor, though they will not provide the same creamy texture as the squash. This adaptability makes the recipe resilient to seasonal changes and price fluctuations in the supermarket, ensuring you can always make a delicious meal without breaking the bank.
Lentils can also be swapped for other legumes, such as chickpeas or white beans, depending on preference. Chickpeas offer a firmer texture and a nuttier flavor, while white beans provide a creamier consistency. If using canned beans, rinse them well to remove excess sodium and add them to the slow cooker along with the other ingredients. Note that canned beans require less cooking time than dried lentils, so they may need to be added later in the cooking process or cooked for a shorter duration. This flexibility allows you to use up pantry staples, reducing food waste and keeping the meal cost-effective. Experimenting with different legumes and vegetables keeps the dish interesting and ensures you always have a comforting meal ready.
FAQ
How long does the leftover curry keep in the fridge or freezer?
Leftover curry keeps well in the refrigerator for up to four days when stored in an airtight container. If you plan to keep it longer, it can be frozen for up to one month without a significant loss in quality. The flavors often improve after a day or two in the fridge as they continue to meld, making the second day’s meal often the most delicious. Always ensure the curry is cooled to room temperature before sealing the container to maintain freshness and prevent spoilage.
Can I use a different type of bean instead of lentils?
Yes, you can substitute lentils with chickpeas, white beans, or even kidney beans. Each legume offers a different texture and flavor profile. Chickpeas are firmer and nuttier, while white beans are creamier. If using canned beans, add them towards the end of the cooking time or reduce the total cooking time to prevent them from becoming mushy. Dried beans will require soaking and a longer cooking time, so adjust the recipe accordingly to ensure they cook through properly.
What kind of container is best for freezing large batches of curry?
BPA-free plastic containers or freezer-safe glass jars are ideal for freezing large batches of curry. BPA-free plastics are lightweight and stackable, making them space-efficient in the freezer. Glass containers are durable and do not absorb odors, but they are heavier and more prone to breaking if dropped. Ensure all containers are airtight to prevent freezer burn and preserve the flavor of the curry. Portioning the curry into individual servings before freezing is recommended for convenience and to minimize waste.
Is it okay to reheat the curry on high heat in the microwave?
It is not recommended to reheat the curry on high heat in the microwave, as this can lead to uneven heating and a rubbery texture. Instead, use medium power and heat in short intervals, stirring between each interval to ensure even distribution of heat. This method preserves the creamy texture of the sauce and prevents the lentils from becoming tough. If the curry appears too thick after reheating, add a small amount of water or stock to loosen it up, restoring the original consistency.


